Ok, on to the tutorial! I have tried to make it beginner-friendly so have patience, experienced seamstresses.
Materials you will need are:
- 1 yard fabric for main body of purse
- 1/3 yard contrast fabric
- 1.5 yards of the heaviest interfacing you can find -- I prefer sew-in interfacing but you can use iron-on if you like. Mine was 22 inches wide.
- A piece of sturdy plastic needlepoint canvas, 5 inches X 9.5 inches
- Two 8.5-inch lengths of .25-inch diameter dowel
- Two buttons
- a few inches of eigth-inch elastic.
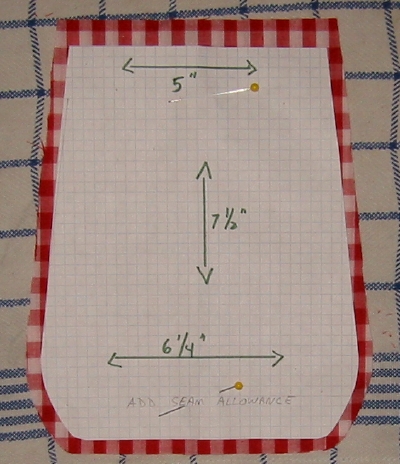
First of all, make a pattern for the end pieces -- something like this. All my pattern pieces and measurements are without seam allowance. This is very important to remember. If you copy my pieces, add seam allowance before you cut your fabric. As you can see here, I have added .25-inch allowances on the sides and bottom, and .5-inch at the top. I suggest you do the same, unless you are using a very heavy or easily-frayed fabric in which case you should double my given seam allowances. Since it is very easy to cut straight lines on woven gingham, I didn't bother making patterns for all the rectangular pieces, but you probably should if you're using some other kind of fabric.
You're ready to cut your fabric (which you have pre-washed and ironed already). Of your main fabric, cut 4 end-pieces, remembering to add seam allowance. Also cut 2 body pieces, which should measure 20.5 inches by 10 inches -- but add seam allowance so they measure 21.5 by 10.5 (.25-inch seams on the long sides and .5-inch seams on the short sides). I hope that makes sense. Next, cut 4 end-pieces and 2 body pieces from your interfacing, adding seam allowance as before.
For a little key-strap, cut a rectangle 3 x 6 inches. Don't add seam allowance.
For the interior pockets, cut two pieces of cloth 11 x 7.5 (plus seam allowance) and two pieces of interfacing 5.5 x 7.5 (plus seam allowance)
Now for the contrasting fabric pieces:
Make a pattern for your closing tab. I made mine 6.5 x 1.25 inches and rounded the ends by tracing a spool of thread. Don't forget to add seam allowance when you cut your fabric. Cut 2 of contrasting fabric and 2 of interfacing.
For the handles, cut two strips of contrasting fabric 5.5 x 18.5 inches, and two strips of interfacing 2.75 x 17.5 inches. Don't add seam allowance to the handle pieces.
For a cellphone pocket to fit a phone approximately 2 x 4 x 1 inches, cut one piece of cloth 4.75 x 10.75 (plus seam allowance) and one piece of interfacing 4.75 x 5 (plus seam allowance). This pocket will of course be fine for a smaller phone, but if your phone is larger adjust accordingly.
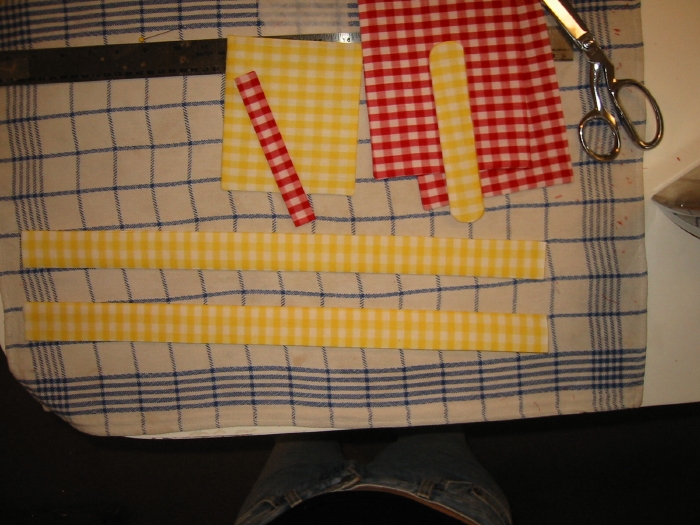
Now you have a bunch of pieces looking something like this:

If you're using iron-on interfacing, you can iron it on now. Don't do the handle pieces yet. When you do the interior pockets and cellphone pocket, line up the interfacing so it's even at the bottom and side edges. It will be shorter than half the cellphone pocket -- don't worry about that.
Construction: Remember to sew everything right-sides together. Make sure your interfacing is the OUTSIDE layer of the sandwich. If you're not sure if you've got the layers right, pin or hand-baste and turn them right side out, to make sure.
First, create your pockets and straps.
Closing tab: Put fabric right-sides together, then interfacing on top and bottom layers. Stitch around the edge, leaving a 1-inch (or so) opening on one long side. Sew slowly around the curves for precision. Trim close to stitching on curves, then turn through the opening.
Interior pockets: Fold in half, right sides together, layer interfacing on top or bottom, stich around from fold to fold, leaving a gap along the bottom edge for turning. Turn.
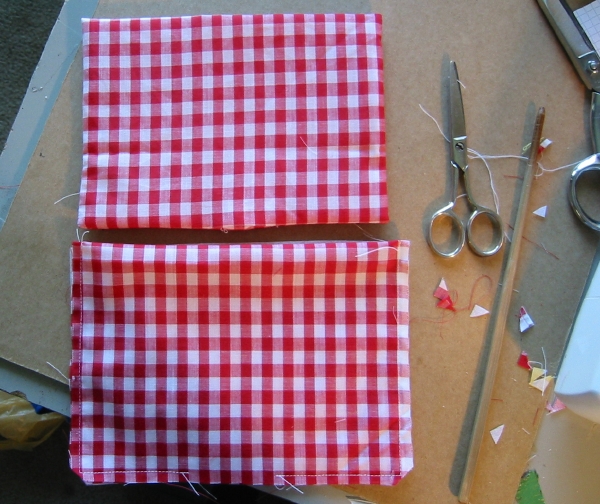
(one sewn and turned, one sewn but not turned yet)
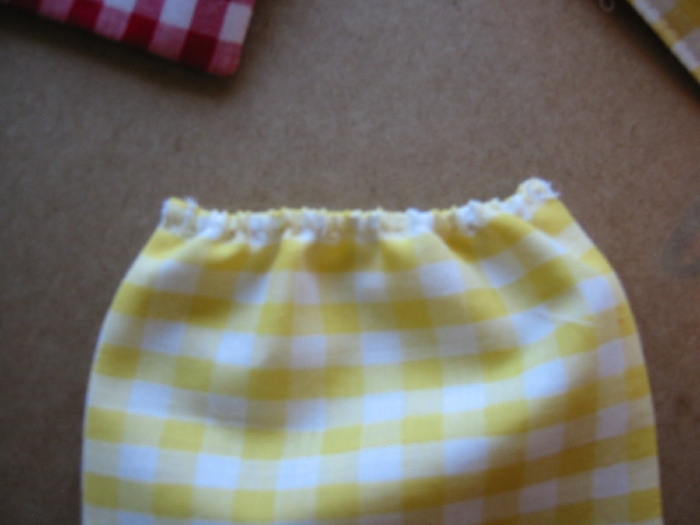
Cellphone pocket: Fold fabric in half. Position interfacing so that it is even with the bottom edge, and a quarter of an inch or so away from the top fold. Sew around pocket, but leave a quarter-inch gap at the folded edge and a gap at the bottom edge, for turning. Like so:
Turn. You're not done with it yet, but now it's time to...
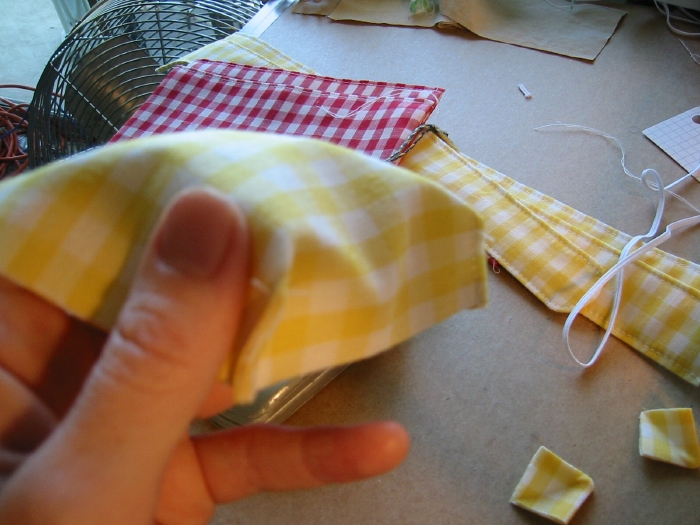
Run to the ironing board and press all the things you just made. If you used iron-on interfacing, be sure to use an appropriate iron temperature so you don't get puckers (the reason I prefer sew-in).
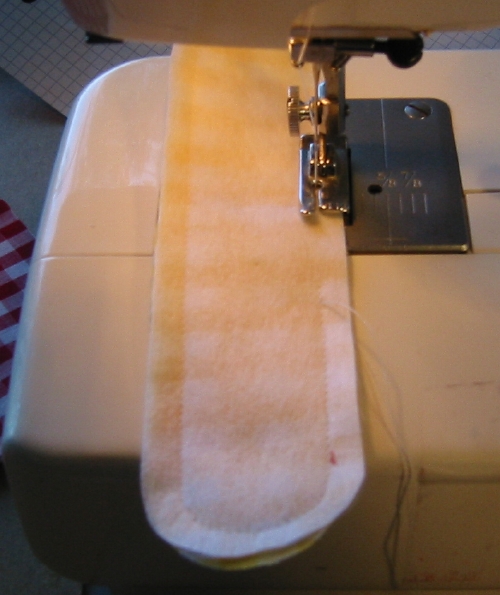
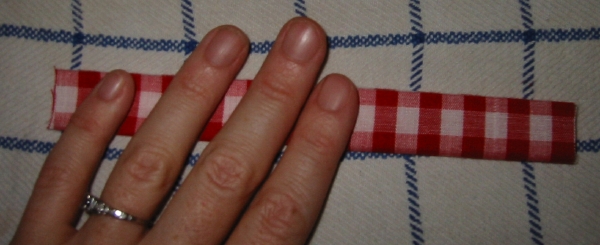
While you're still at the ironing board, make your straps: For the little key strap, first fold over a quarter-inch at each short end. Press. Fold in half the long way. Press. Unfold, then fold long edges to meet at center crease. Press. Fold in half the long way again. Press.
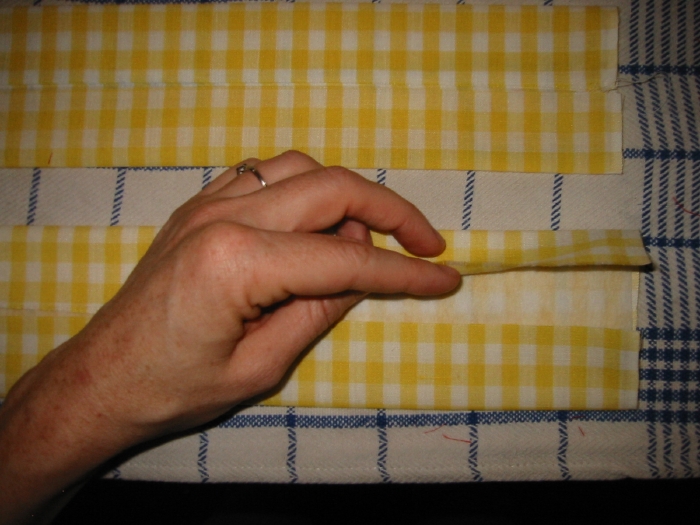
Make your handles in the same way, but slip that strip of interfacing in after you fold the long edges to meet the center crease. Also, you don't have to fold under the short edges, although it's ok if you do.
(partway done)
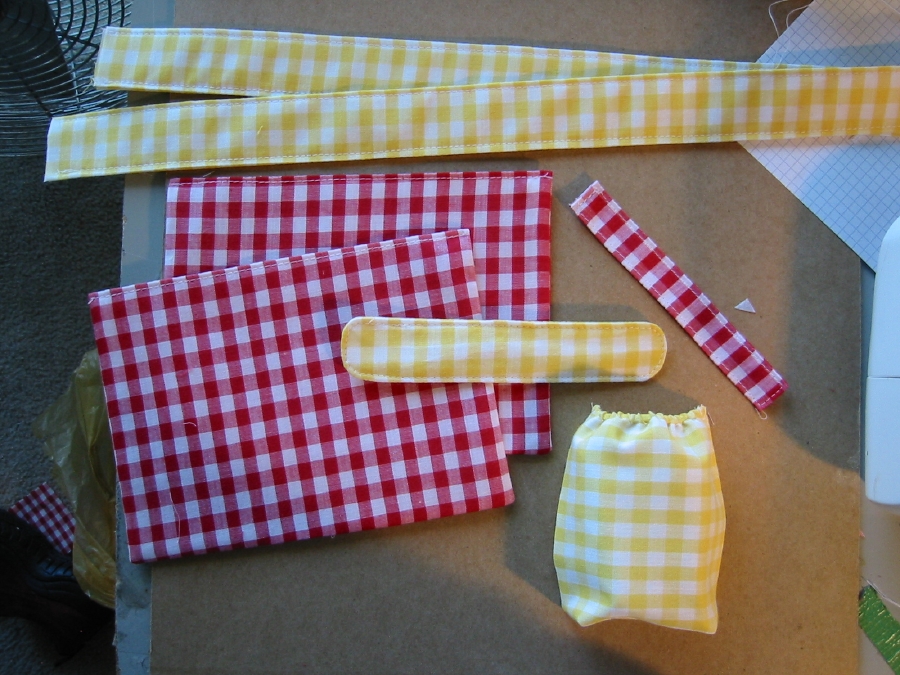
Here's what you have so far:
Time to finish the cell-phone pocket and topstich everything. Using a safety-pin or something, shove your elastic through the gaps at the top of the cell-phone pocket.

Attach one end by sewing back and forth over it a few times. Sew along near the elastic to make a little casing for it, then stretch the elastic so the top of the pocket gathers a bit, and attach the other end. Snip off extra elastic.
Now you need to make the pocket fit your phone. Pinch the bottom corners together, pin, and check the fit.

If it's good, sew across the corners and trim off the extra cloth.
Now set your stitch-length a bit longer and top-stitch around the edges of all your straps, handles, and closing-tab. Topstitch the top (fold) edge of the interior pockets. So here's what you have now:
Now you need to attach the various pockets to the main purse pieces. Grab one of those long rectangular main purse pieces, interfacing on the bottom, and pin your interior pockets to it, centered, with the top edge of pocket about 2 inches down from the short edge of the rectangle. On this example I placed the pockets too close to the edge (about 1.5 inches) and I was sorry later! So move 'em down a bit. This will be the LINING of your purse.

Don't sew them on yet. First you need to decide if you want them to have some method of closure at the top. On my green purse, I used little rectangles of velcro. On this red one, I used snaps. So do whatever you want about that, and then stitch the pockets in place. After I've gone around the edge, I like to stitch a vertical line to make a pen-pocket. You will, of course, line your pockets up better than I did... ;-) (no one will ever notice if you don't, 'cause it's inside the purse, heheh)
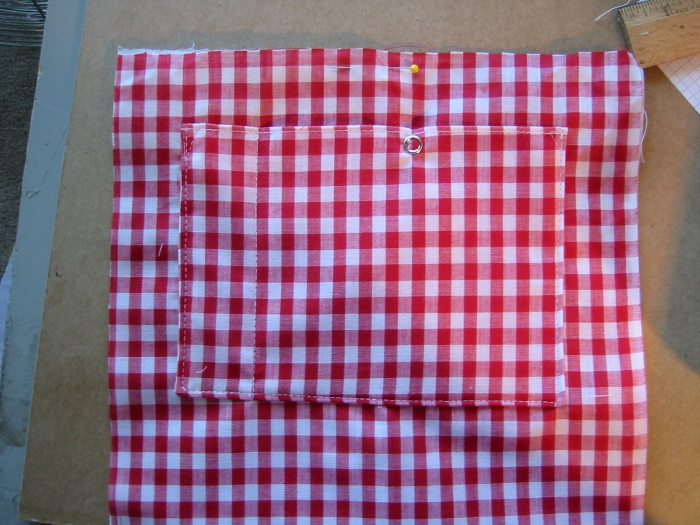
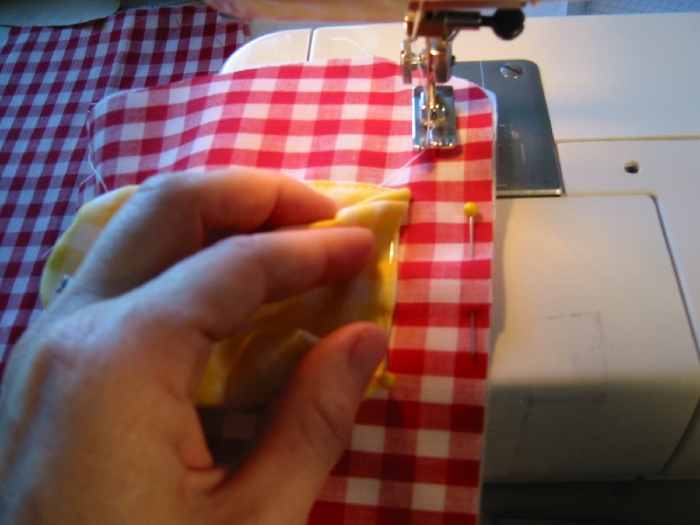
Next, attach the cell pocket to one of your end pieces (interfacing underneath). This is a bit tricky, so take it slow. First pin your pocket in place, making sure your phone will go in AND come back out again:

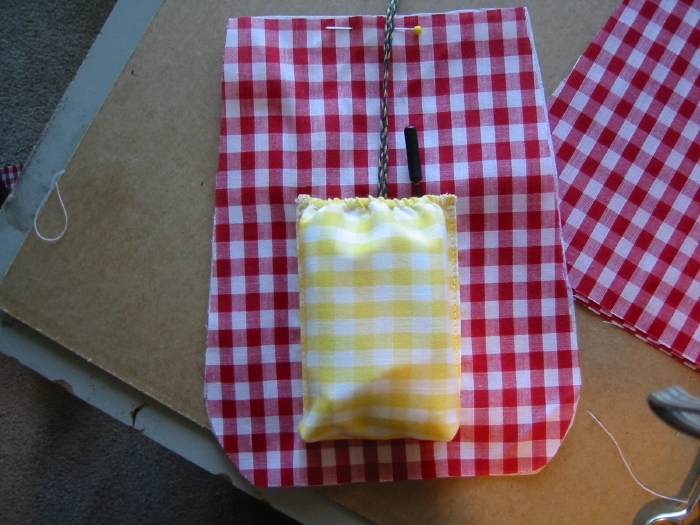
Now sew down one long side, backstitch when you get to the corner, lift the presser foot, turn the corner, stitch across the bottom, backstitch, lift foot, continue up last long side. Here's what it looks like just before you sew the bottom edge:
And when you're finished:
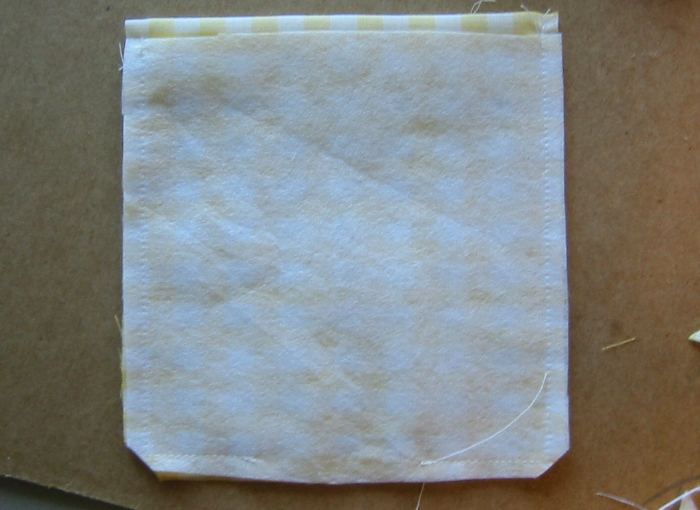
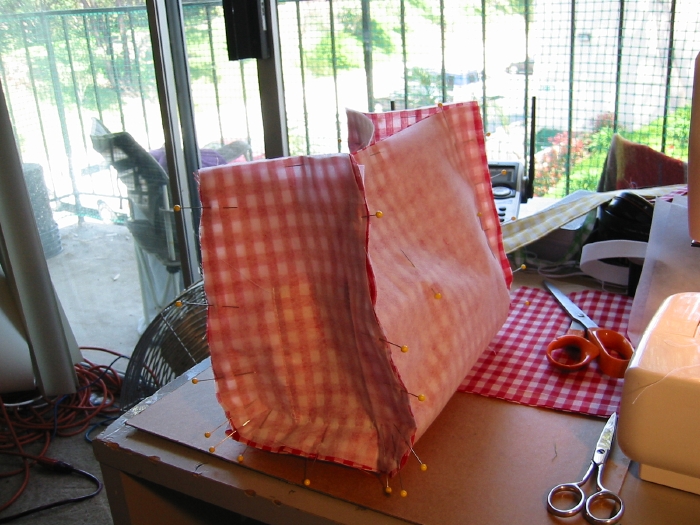
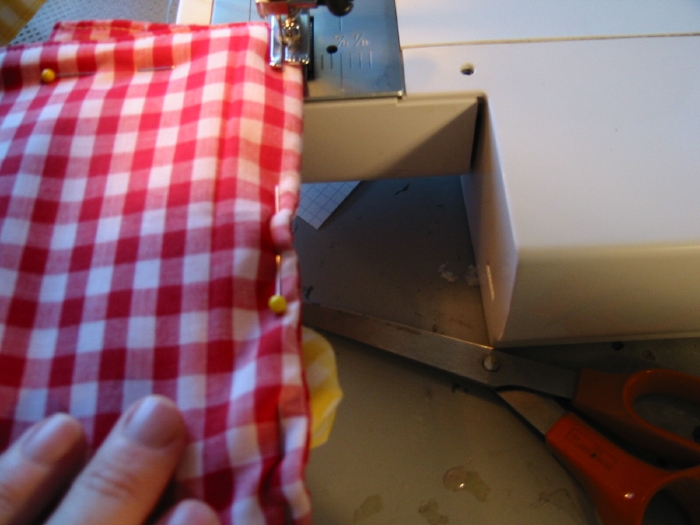
Now it's time to sew the purse together! Yay! Take the LINING piece (with the interior pockets attached to it) and pin it right sides together with two of the end pieces (NOT the one with the cell pocket) and their interfacing. It's best to find the exact center of the long side by folding it in half, and matching it with the exact center of the bottom of the end-pieces. Pin very carefully around those curved edges. You can clip the rectangular piece slightly to help it fit. Hand baste before sewing if you're nervous, and then sew it together. Do the same with the other main piece and two end pieces (cell pocket one this time). Here's what it looks like when it's all pinned:
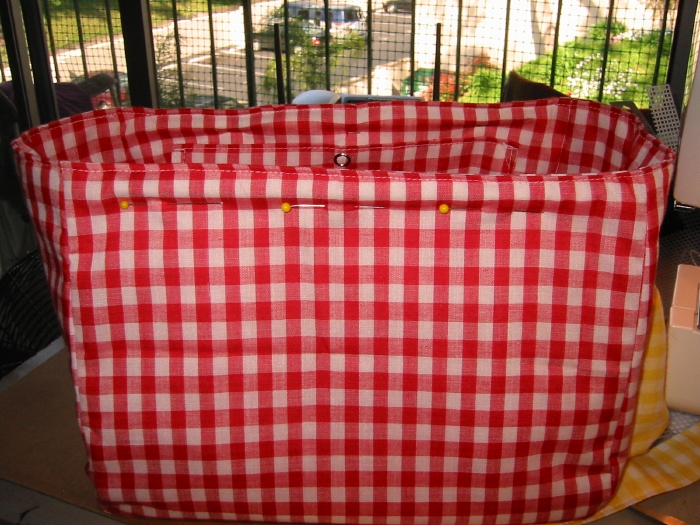
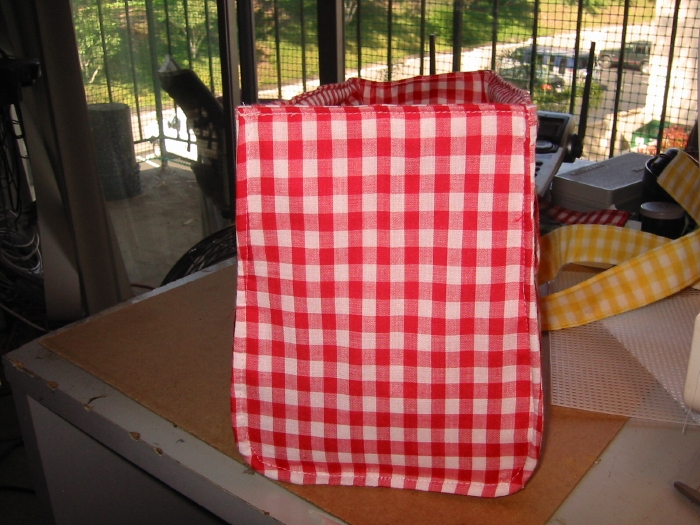
You'll end up with two purse-shaped things. Turn right side out and admire. Now turn one of them inside out again, and pin them together around the top edge. Right sides are together so all you can see is interfacing. Stitch around the top edge, leaving a gap of about 5 inches in one long side. Turn through the gap and admire again. Slip your 5 x 9.5-inch piece of plastic needlepoint canvas down the gap and arrange it so it's right at the bottom of the purse, stiffening the bottom. Slip your two 8.5-inch dowels through the gap and shove them around until there's one up along each long top edge. You can pin them in place temporarily to make sure they fit -- they should NOT reach all the way to the seams on both sides. Take them back out and cut a little off if they're too long. If you've followed my measurements they should be just right but check anyway.
Topstitch around the top edge of the purse, closing the gap. Here's what it looks like after top-stitching, with the dowels pinned in place:
You should unpin the dowels and move them out of the way while you perform the next few steps.
Now topstitch around the side seams. It's not structurally necessary and you can skip it if you want, but it will make the purse look more finished and professional, and helps it keep its shape. Pin carefully, then sew:
When you're done, both ends will look like this:
Now pinch the side-pieces in half, pin, and stitch near the fold for an inch and a half, or so. This will make them want to fold inward when your purse is closed:

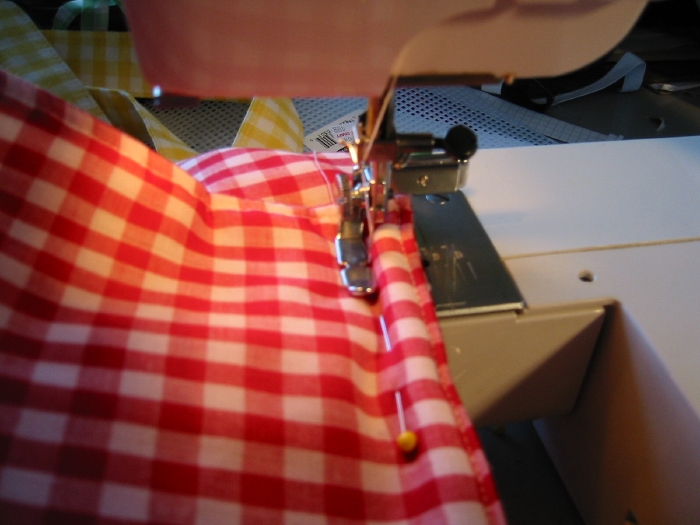
You are almost finished! Now pin those dowels back in place, put on your zipper foot and stitch along the dowels:
Change back to your regular foot before you break a needle (voice of experience).
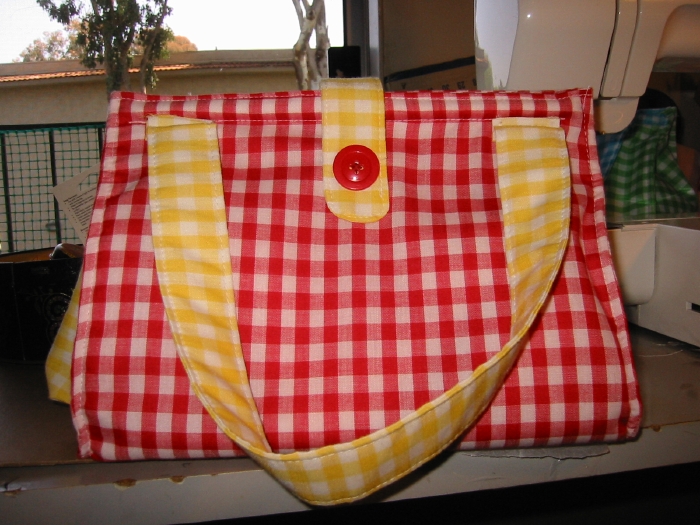
Make a buttonhole to fit your buttons in one end of the closing-tab. Stitch one button in place on one side of your purse, button the tab to it, then stitch the other end of the tab and the other button in place on the other side of your purse. I just layer purse - tab - button and hand-sew the button on through the tab. Or if you want a functional button on both sides of the purse, you can make two buttonholes in the tab.
Use a wide zig-zag with a short stitch length to attach your handles. Watch out for those interior pockets -- you don't want to catch them in the zig-zag. If the short ends of the handles are unfinished, fold them under. This photo shows the non-functional button and the folded-under handle ends:
Oh, you'll want to do something with that key-strap. Either double one end of it back through a spring-clip, or use velcro or snaps to make a loop to hold your keys. Then stitch the strap somewhere near the top the bag, on the inside. Sorry I forgot to take a photo of this step, but I'm sure you can figure it out :)
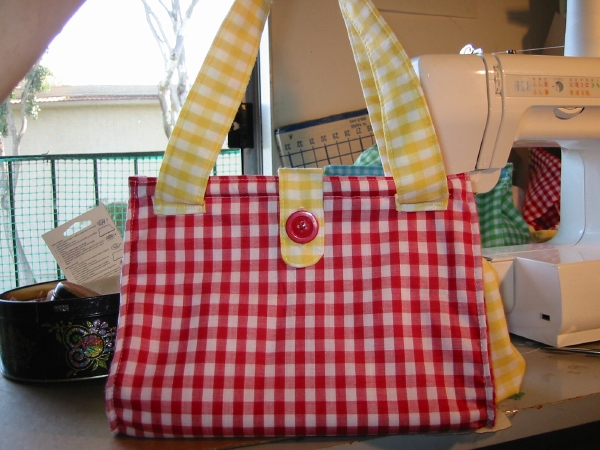
Well! You're done! Congratulations! Now fill up your purse with your stuff and show it off :) And send me a picture! I hope this tutorial was easy to follow. Please email me if you have any questions: kara(at)nyip.net
Happy sewing!